Thank you for purchasing my easy assemble Santa Chair!
Watch the YouTube Video showing assembly and knockdown https://youtu.be/tr0U18_RRQk
and here are some suggestions for finishing the chair.
Regardless of the finish, it is pretty much required that when paint is applied the edges need to be sanded to remove the ‘feathers’ that will make assembly, and more important, disassembly difficult.
All connections need to be smooth or they can seize up causing possible damage to the joints.
One Santa had to use a mallet to take it apart but luckily didn’t break anything.
The chair as sent is bare and would benefit from at least a coat of stain/primer/sealer.
The paint I used on my chair is Behr Exterior Satin Enamel, Paint and Primer in one. Product number 9050. Bought one quart and picked up a Harbor Freight paint sprayer to apply.
The finish is matte and it does not reflect flash back at the camera.
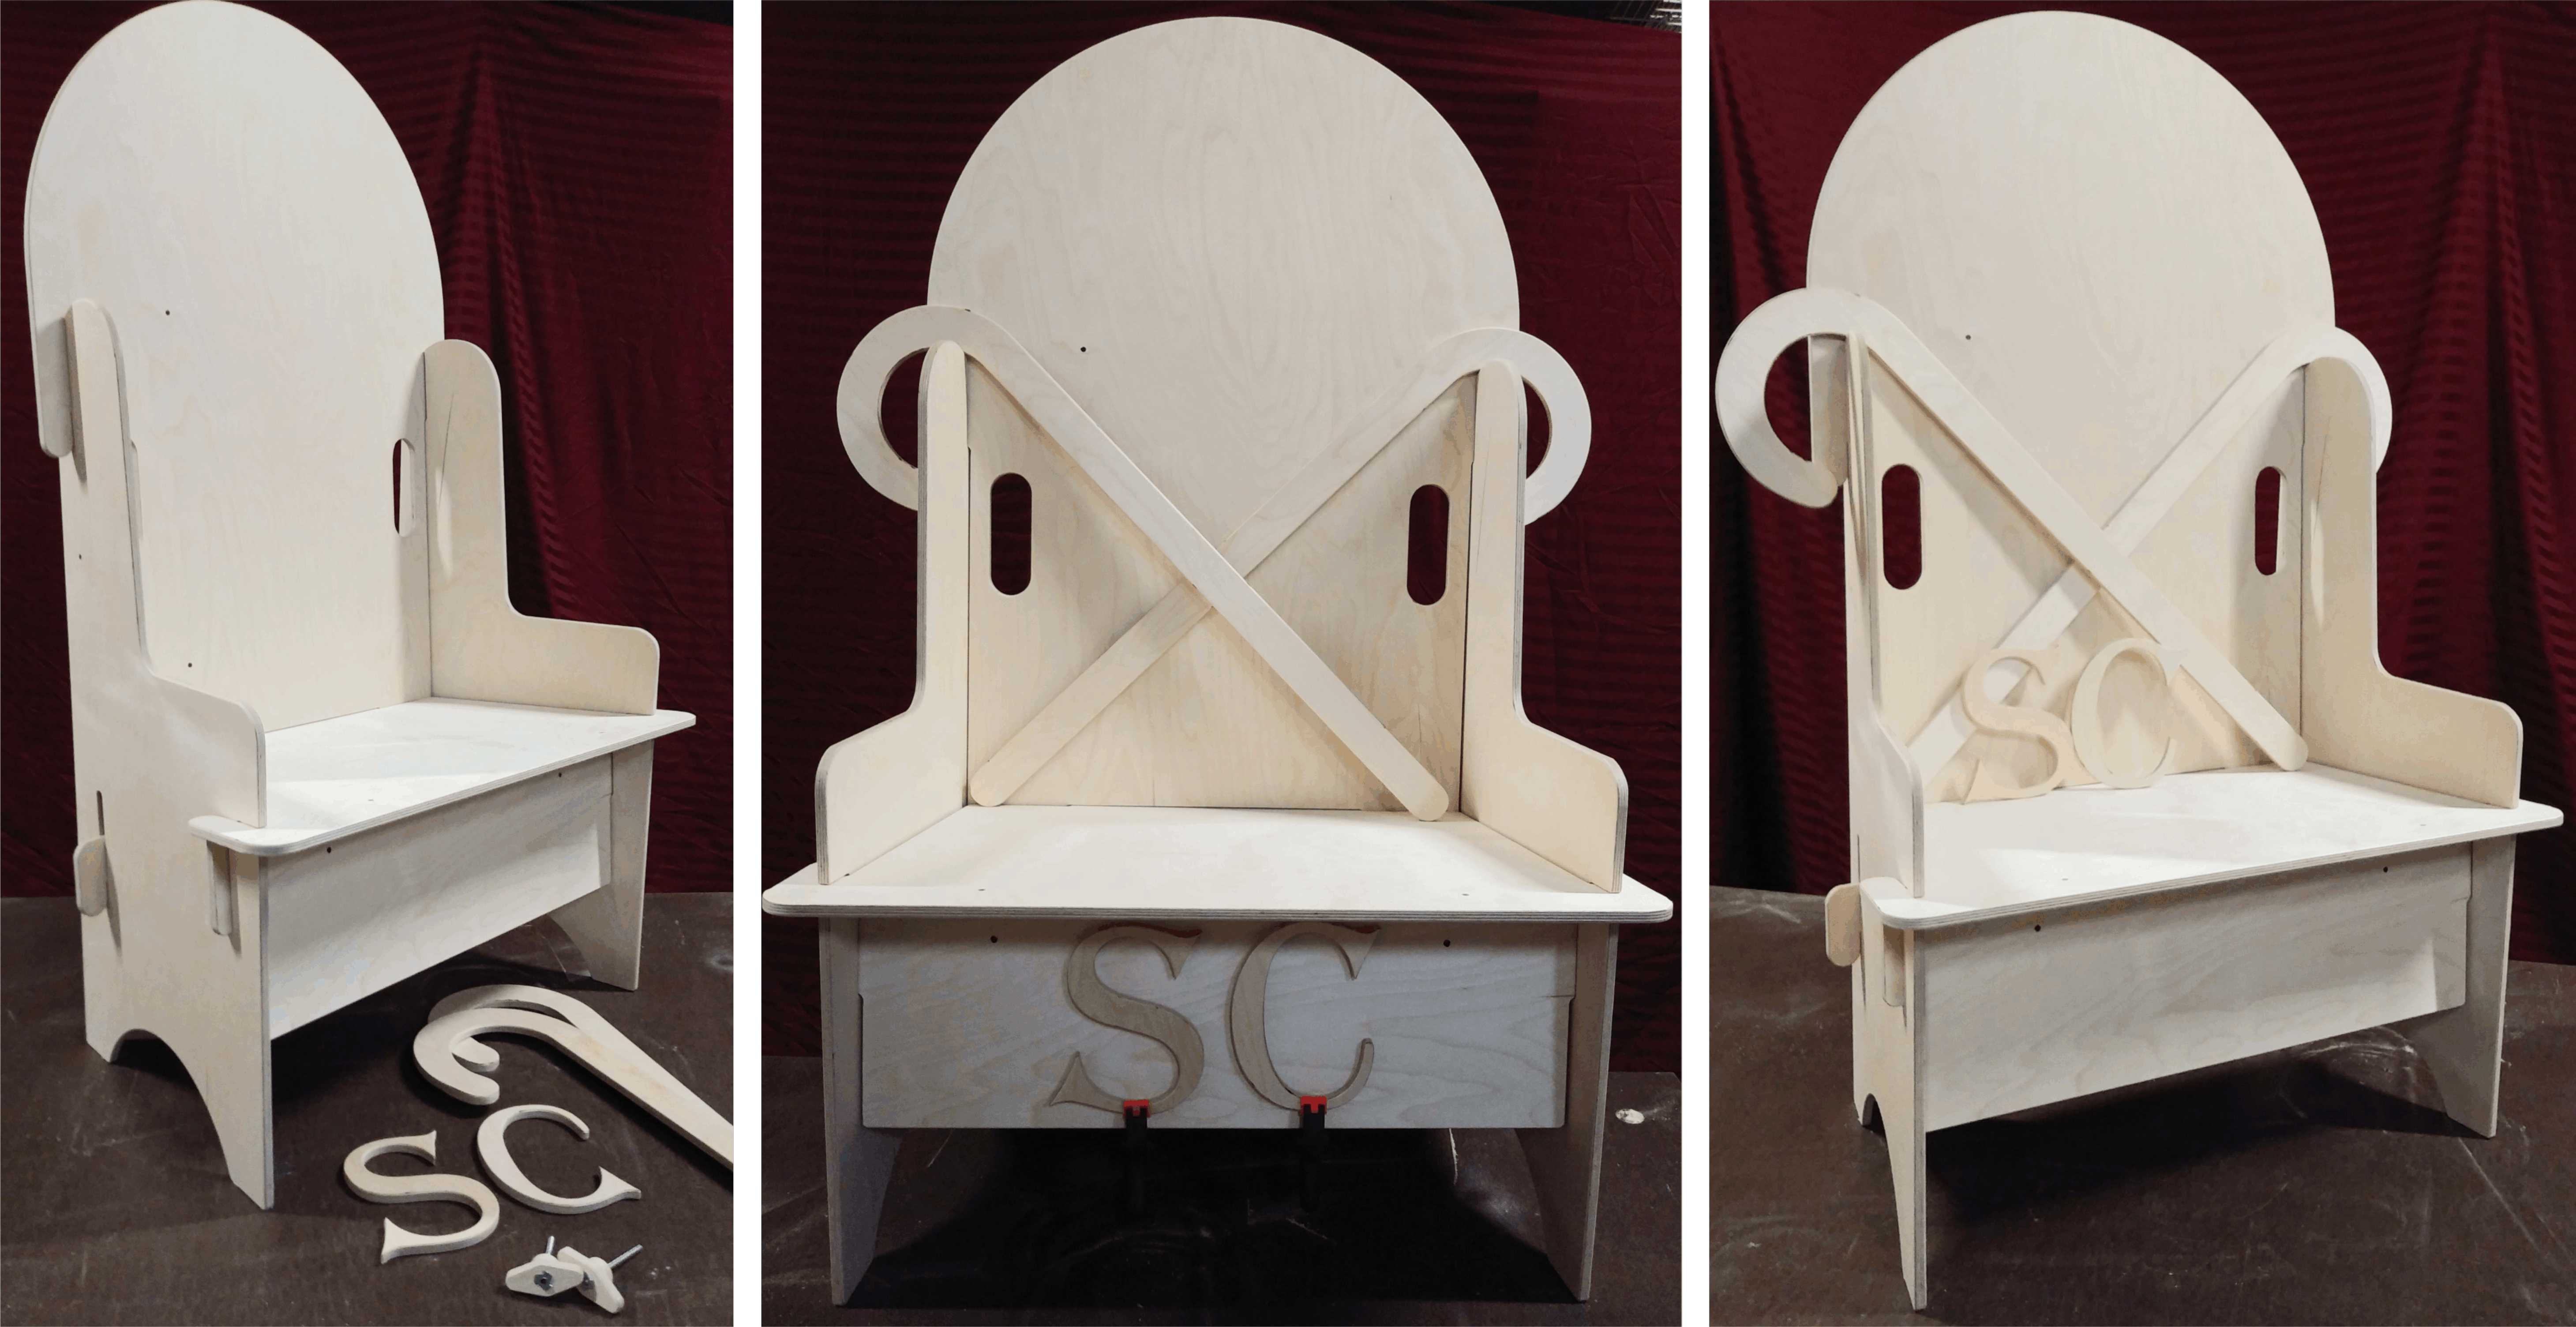
Out of the box, with some creative painting you could have two completely different designs
facing the camera just by painting each side of the back and seat to match.
All parts are ‘reversible’, the back can be set up with either side facing front, just as the seat could be flipped to show either side.
For example, this allows you to have one face all one color and the other side with the S and C
mounted on a completely different scene.
The provided ‘S’ and ‘C’ on one of my chairs shown in this video is painted gold and screwed
to the back. If you decide to permanently mount the letters, or anything that projects from the flat surface of the back, it needs to be done on the same side as the t-nuts are pushed in. These are the fasteners that you screw the handle into to hold all the parts together for transport.
If you put them on the other side, when you stack the pieces together and install the handles,
parts will not nest properly or the t-nuts will not hold properly and the stack could fall apart when you
are moving it.
Also, the seat support piece, which you need to install prior to putting the seat in place, can
easily be painted with ‘Santa’, ‘Believe’, or anything you desire.
You have two faces to decorate.
If you put the ‘S’ and the ‘C’ on the under seat support, this becomes the last piece on top when you stack it for transport.
Another design suggestion, which we had on display at the Denver convention, is the use of
fabric to make quick and easy changes to the appearance. If you show up to discover that the chair clashes with the backdrop, you can quickly slip a chair cover over the back to make it an other style.
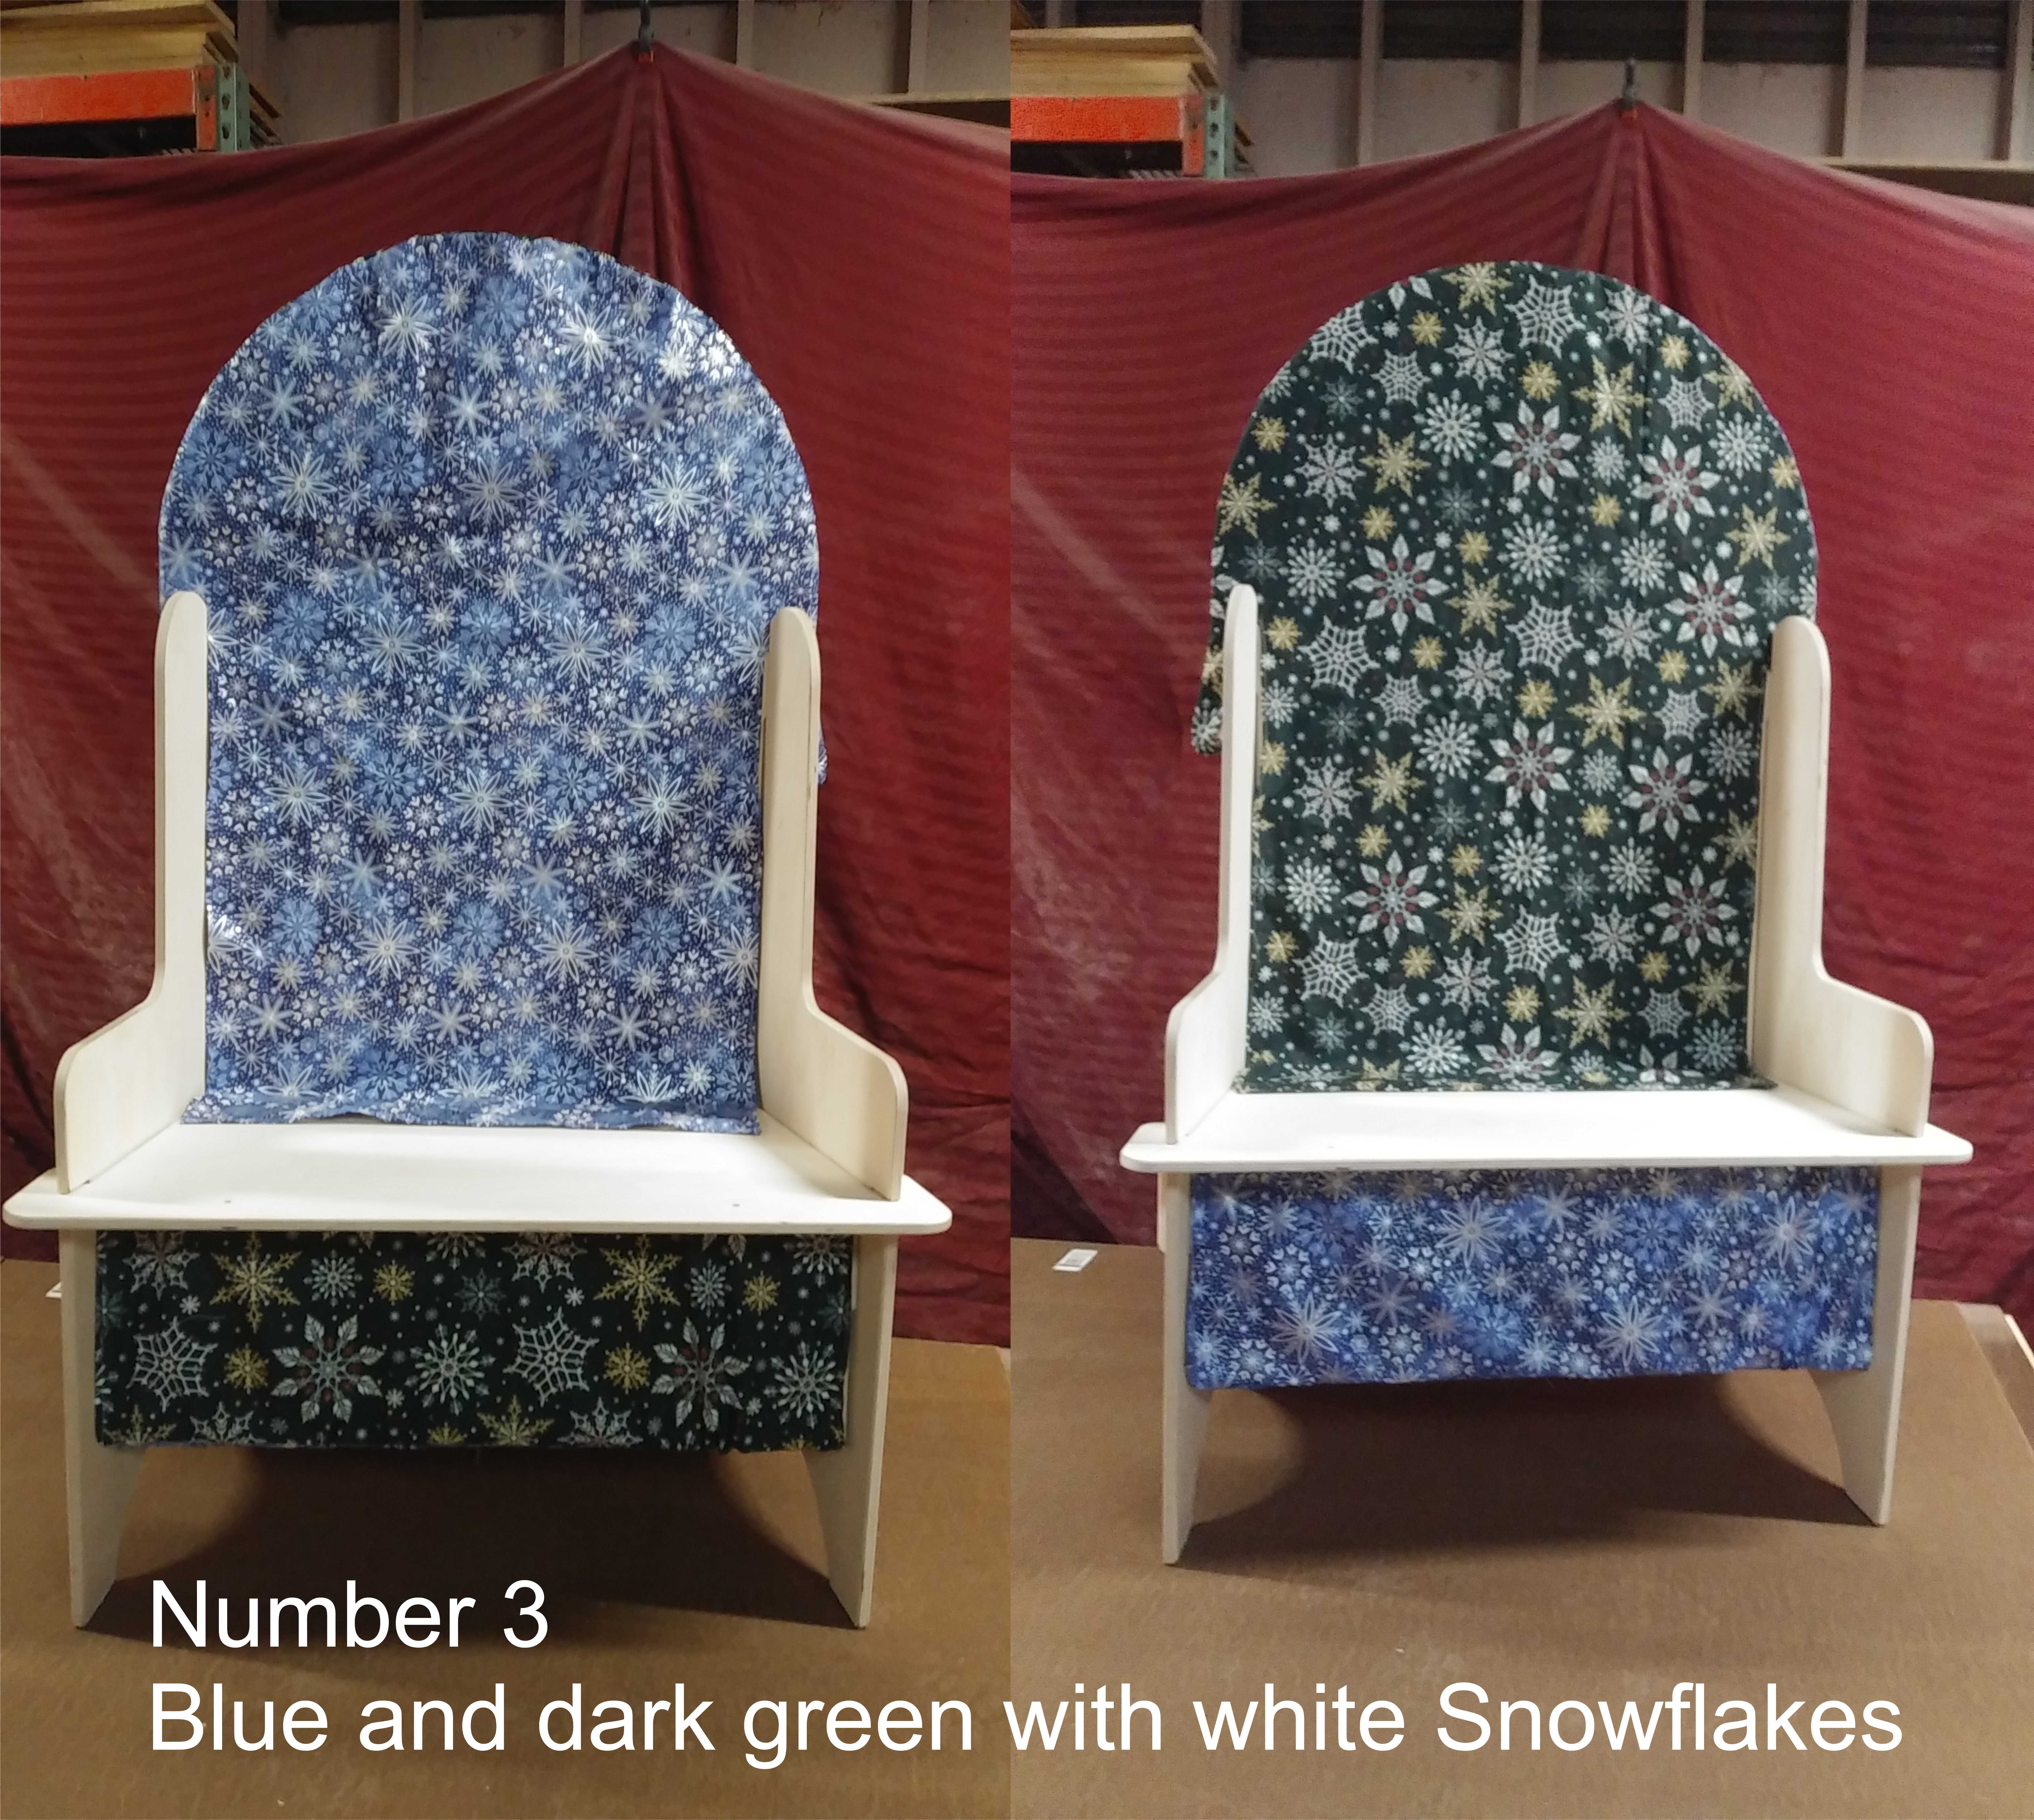
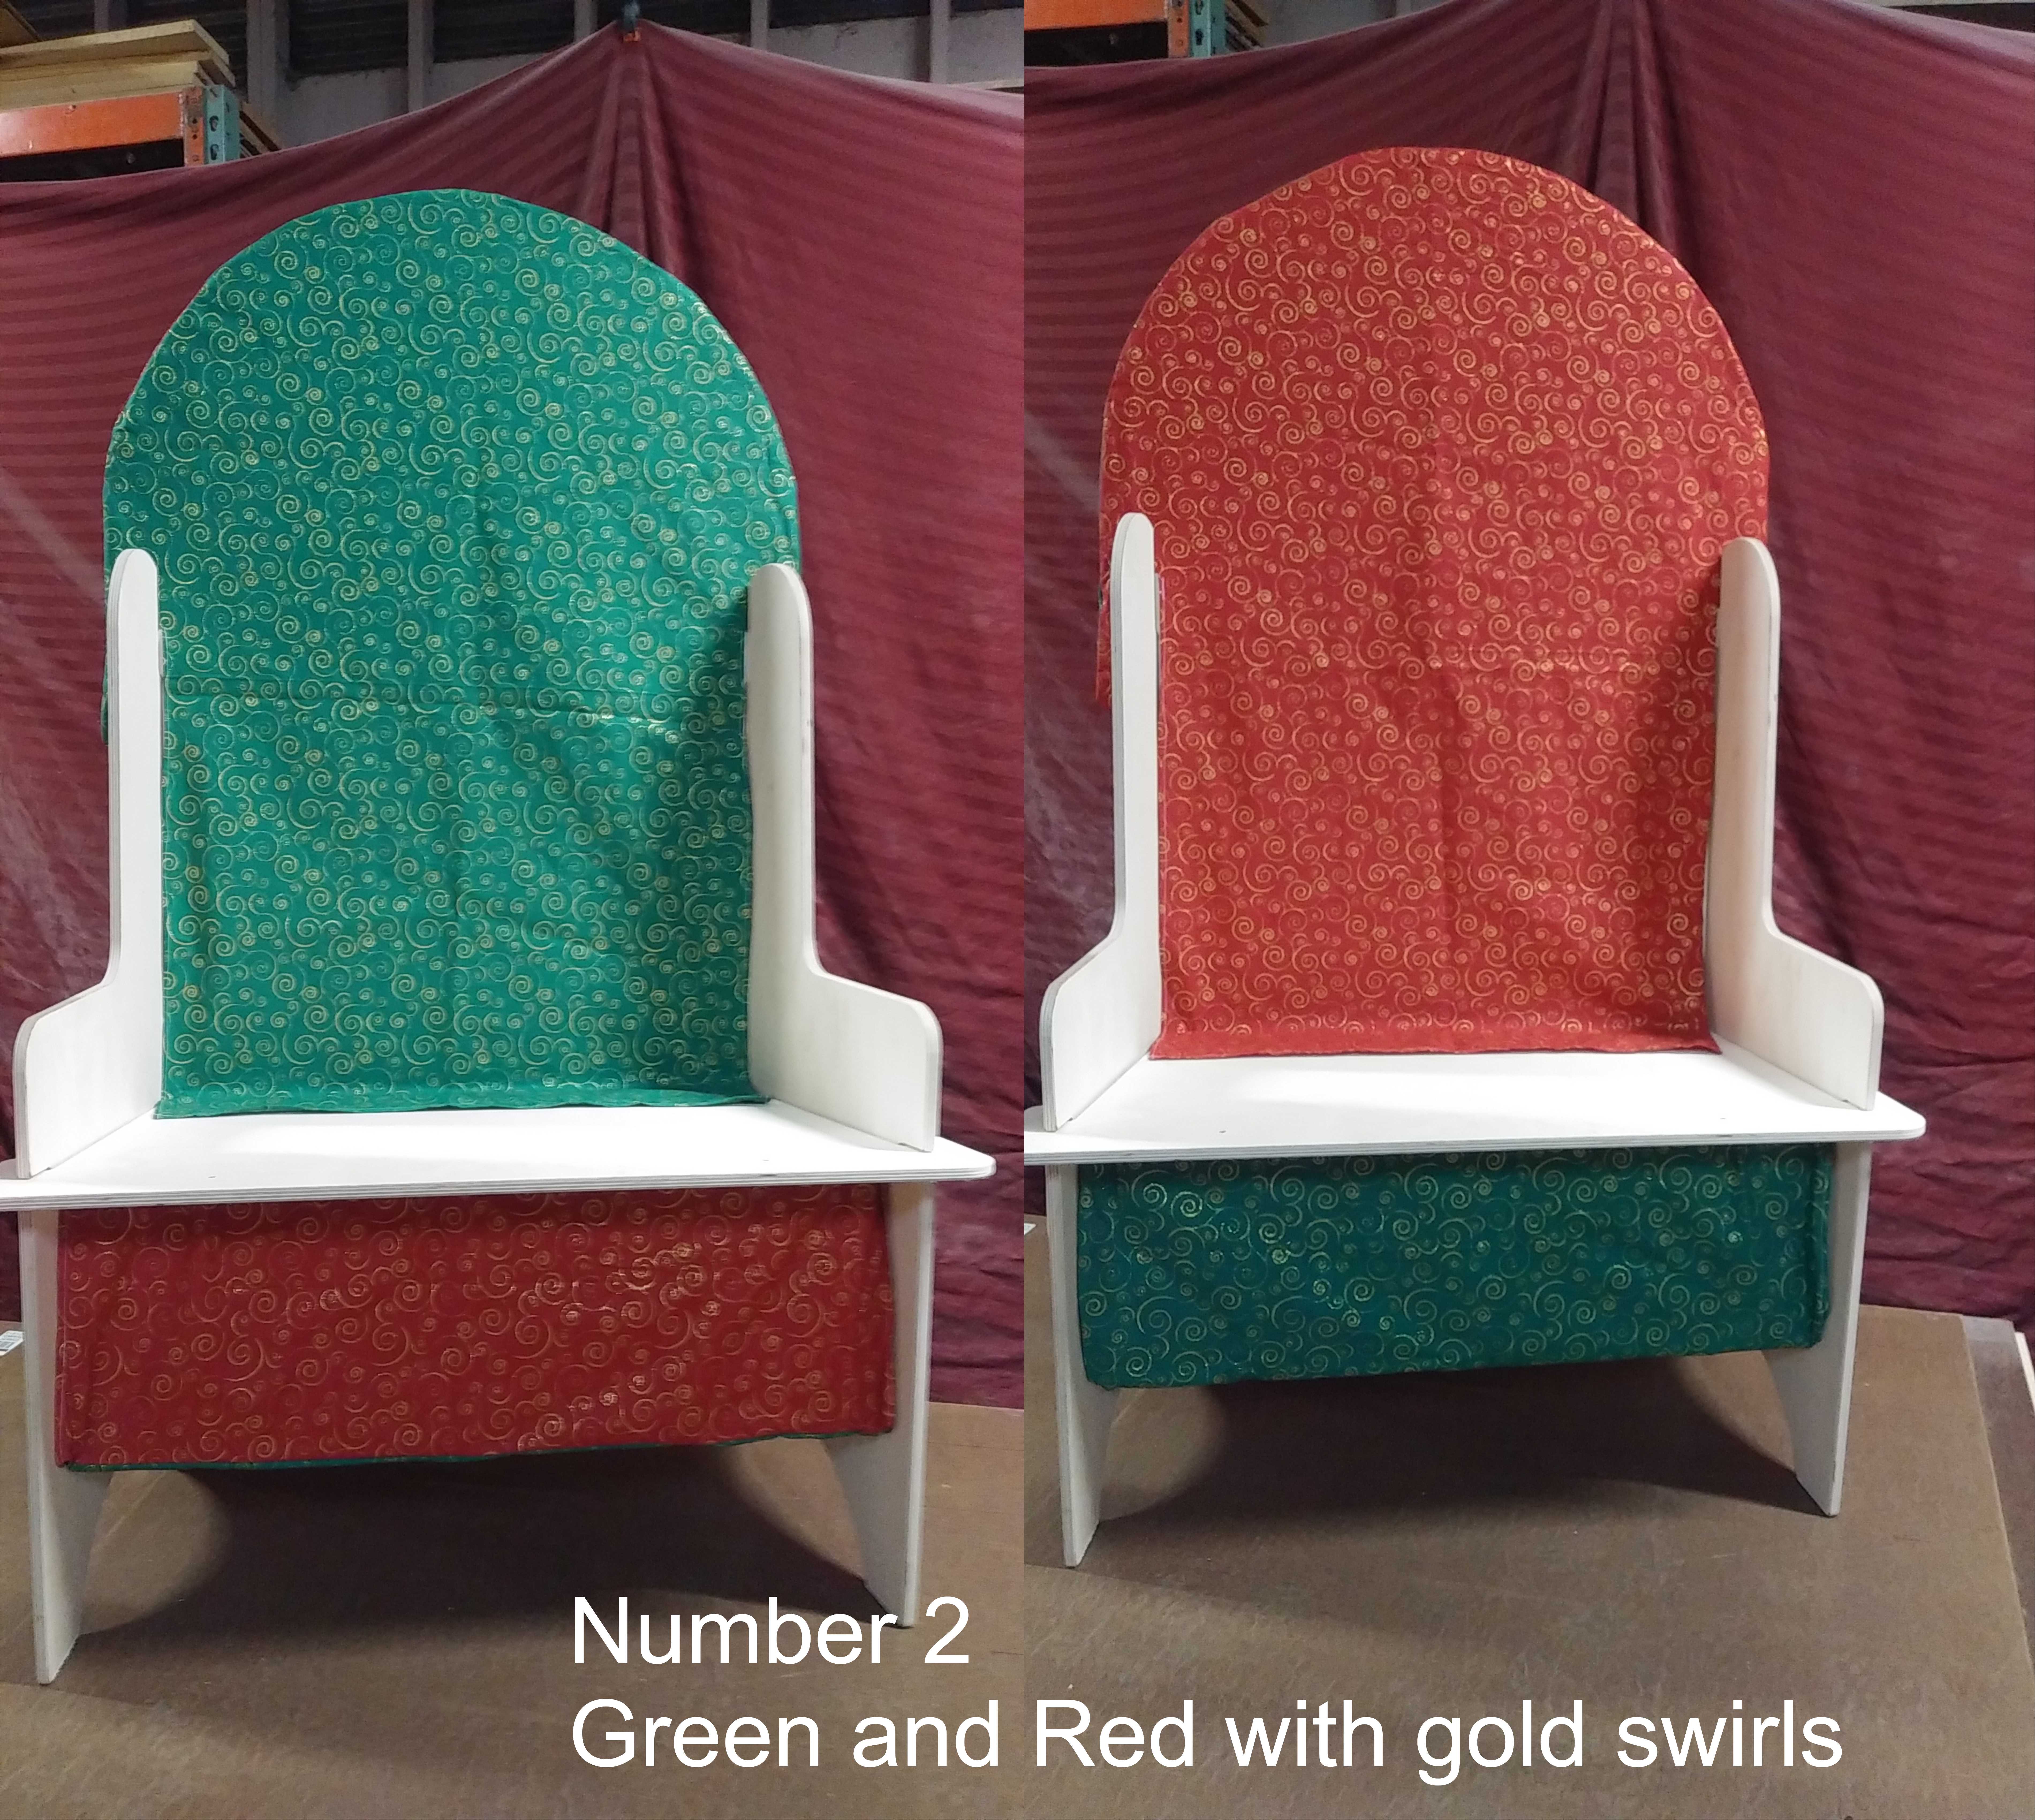
Simply by choosing two different fabrics, and sewing them back-to-back creating two different colors, you can put almost any design on the chair is an instant.
Use your imagination to apply appliques or embroidery to enhance the appearance.
Santa Jerry Galland
http://santajerry.net/?page_id=284
YouTube Video showing assembly and knockdown
https://youtu.be/tr0U18_RRQk